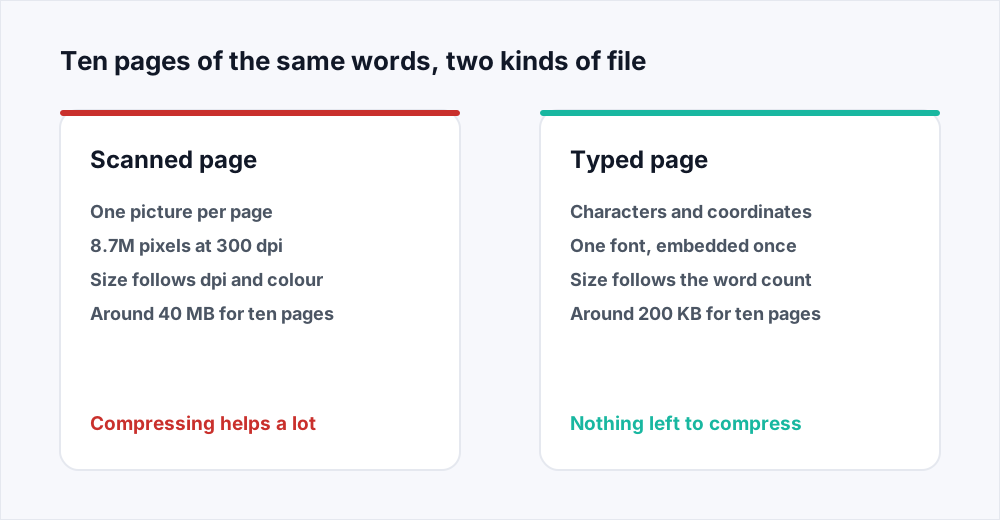
Ten pages come out of the scanner as a 40 MB PDF. The same ten pages typed in Word are 200 KB. The words are identical. If your scanned PDF is too large, the reason is not the page count: a scanner does not read your page, it photographs it. Every page becomes one image, and an image's size is decided by two numbers you chose before pressing the button, the resolution and the colour mode.
Both can be changed. Scanning the next batch at 200 to 300 dpi in greyscale rather than 600 dpi in colour takes that 40 MB file under 5 MB with nothing lost an eye can find. For the scan already in your downloads folder, redrawing those images at a lower resolution is what a compressor does, and a scan is the one file where compression makes a dramatic difference.
Below: what is inside a scanned PDF, the arithmetic that turns dots per inch into megabytes, and what each level of Compress PDF does to a scan. Also what we cannot do for you.
Why a scanned PDF is too large: it is a picture of the page
Open a typed PDF and drag your cursor across a line. The text highlights, because the file holds characters: glyph codes with coordinates, plus a font embedded once and reused on every page. The two-hundredth page costs the same handful of kilobytes as the second.
Do the same on a scan and nothing highlights, because there is no text to highlight. The page contains one image, the width and height of your sheet of paper, and a one-line instruction to draw it across the whole page. The letters you can see are dark pixels in a grid of light ones, and the file has no idea they are letters.
That is the whole explanation for scanned document file size. A typed PDF's weight follows its content; a scan's follows its pixel count, and the pixel count follows the scanner. A blank page at 600 dpi in colour is heavier than a dense page of text at 200 dpi in greyscale, which feels wrong until you remember the file is not storing words.
The arithmetic: what dots per inch actually costs
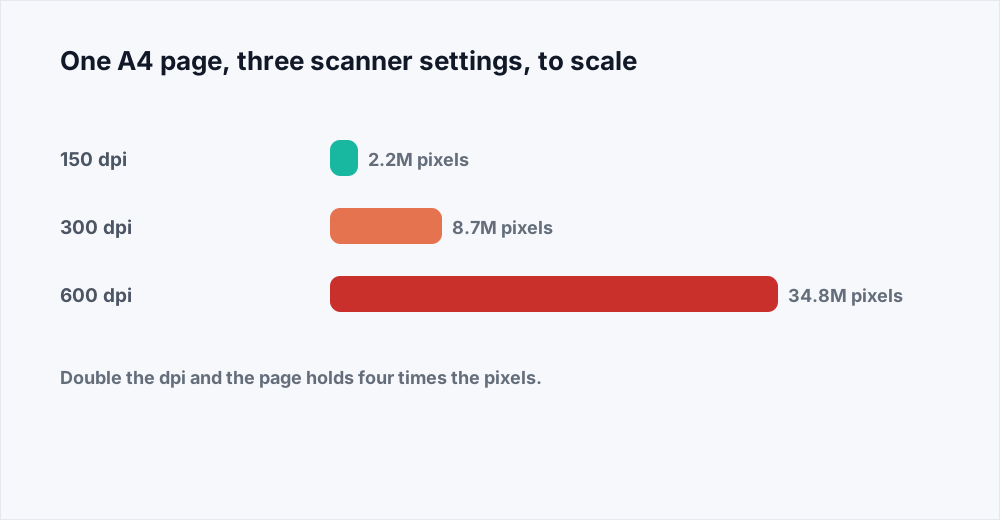
Dots per inch is how many samples the scanner takes along each inch of the page, in both directions. An A4 sheet is 8.27 by 11.69 inches. At 300 dpi that is 2,480 by 3,508 samples, or 8.7 million pixels. In colour each pixel is three numbers, a red, a green and a blue, so the page is roughly 26 million values before anything compresses it: about 26 MB of raw data for one sheet of A4.
Now raise it to 600 dpi. Because dpi applies to both directions, doubling it quadruples the pixel count: 4,961 by 7,016 is 34.8 million pixels, over 100 million values in colour. Four times the data for the same sheet. That is why 600 dpi receipts exist: the setting sounds like twice as much and is four times as much.
The arithmetic runs the useful way too. Going from 300 dpi to 150 quarters the pixels; from 600 to 150 leaves a sixteenth. The images are compressed afterwards, so the file does not shrink by exactly sixteen times, but the relationship holds: the pixel count is the budget, and dpi spends it in squares.
Colour mode is the other half of the multiplication
Every pixel needs a value, and how many numbers that takes depends on what the scanner was told to record. Full colour is three per pixel. Greyscale is one, so the same page at the same dpi is a third of the data before compression starts. Black and white, sometimes called bilevel or line art, is a single bit: ink or paper, nothing between.
For black text on white paper, greyscale loses nothing you want. The colour channels are recording that your paper is slightly cream and your toner slightly warm, which nobody needs from a contract. What greyscale keeps is the soft edge of each letter, which makes text look like text.
Bilevel goes further and is excellent for clean typed originals: at 300 dpi a page of text can land under 50 KB, because the codecs built for that mode compress runs of identical pixels enormously well. It is the wrong choice for a photograph, a highlighter mark, a pencil note or a faint stamp, each of which becomes solid black or nothing at all.
What one page costs at each setting
One A4 sheet of typed black text, saved as JPEG inside the PDF. Real numbers move with the paper and the scanner; the ratios hold.
| Scanner setting | Pixels on the page | Typical page | Ten pages |
|---|---|---|---|
| 150 dpi, greyscale | 2.2 million | about 120 KB | about 1.2 MB |
| 200 dpi, greyscale | 3.9 million | about 200 KB | about 2 MB |
| 300 dpi, greyscale | 8.7 million | about 500 KB | about 5 MB |
| 300 dpi, colour | 8.7 million, three channels | about 1.5 MB | about 15 MB |
| 600 dpi, colour | 34.8 million, three channels | about 4 MB | about 40 MB |
JPEG and lossless inside the same scan
The PDF is only a wrapper. The image inside each page is encoded in some format, and which one the scanner chose changes the size by a factor of five or more for identical pixels.
Most scanners write JPEG, which is lossy: it discards detail the eye is poor at noticing. On a photograph that is close to invisible. On text it shows as faint haloes around the letters, because sharp black-to-white edges are what JPEG handles worst.
Some scanners, and most phone scanning apps set to their best mode, write lossless images instead. It sounds like the safe choice and it is how a ten-page scan reaches 40 MB. Lossless stores every pixel exactly, including the sensor noise that made your white paper very slightly speckled, and noise is the one thing lossless compression can do nothing with. A lossless colour scan of a blank sheet can be several megabytes of nothing. For text, greyscale at 300 dpi with ordinary JPEG quality is the better trade.
How to reduce scanned PDF size in four steps
For the file you already have, where the scanning decisions are behind you.
Paso 1: Open the compressor
Go to Compress PDF. No install, no account, and nothing to configure first.
Paso 2: Add the scan
Drag the PDF in. Up to 20 MB a file on the free plan, 250 MB on Pro, which covers most scanned batches.
Paso 3: Choose a level
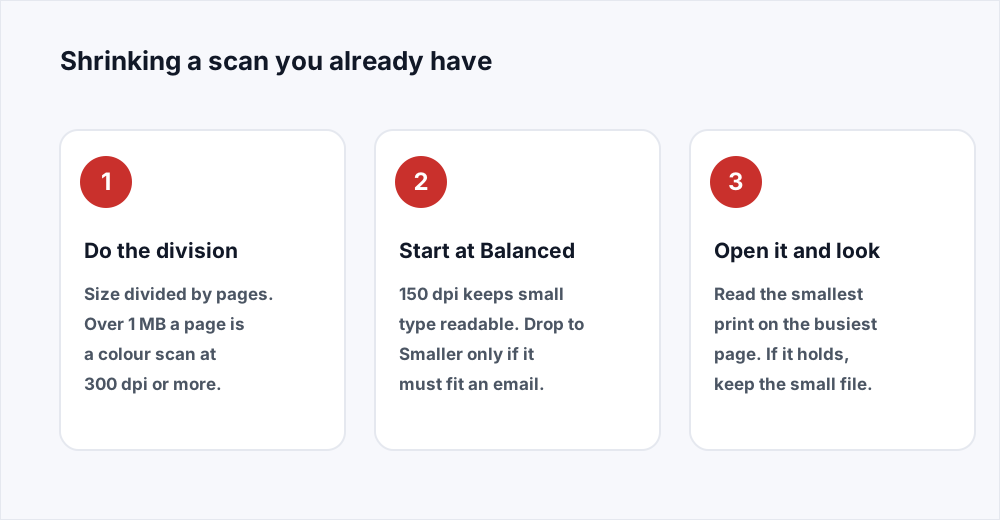
Balanced redraws images at 150 dpi and is right for almost every text scan. Smaller goes to 72 dpi for email. Higher quality holds 300 dpi for anything that will be printed.
Paso 4: Open the result before you send it
Find the smallest print on the busiest page. If it is readable, the file is fine. If not, run the original again one level up.
What each Compress level does to a scan
The three levels are three target resolutions: Smaller redraws every page image at 72 dpi, Balanced at 150 dpi, Higher quality at 300 dpi. Text and vector drawing are never touched, but a scan has none of either, so here the level decides everything.
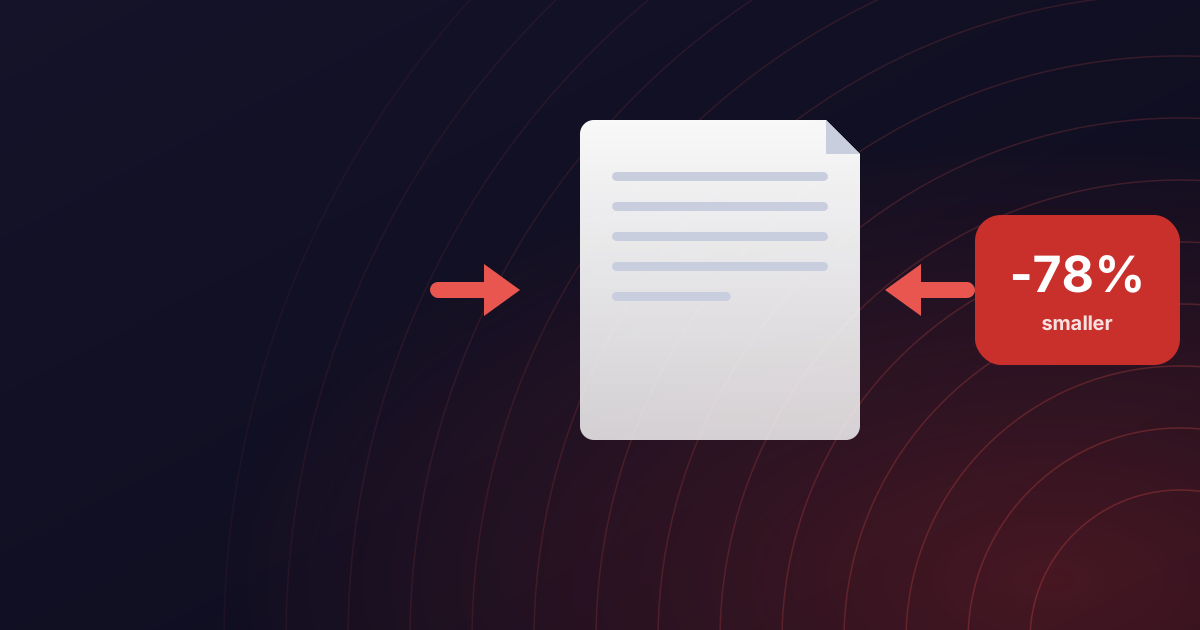
Run a 600 dpi colour scan through Balanced and each page goes from 34.8 million pixels to 2.2 million: a sixteenth of the pixels, and in practice a tenth to a twentieth of the file. The 40 MB batch comes back at two or three megabytes and still reads perfectly, because a screen was never going to show you 600 dpi anyway.
Smaller, at 72 dpi, is a real loss of legibility for scanned text. Most of a page survives; footnotes, small print and anything handwritten in biro do not. Use it when a hard upload limit is the constraint, and read the guide to compressing without losing quality if you want the levels compared one by one.
Higher quality is for a scan that will be printed: 300 dpi is the point below which printed text starts to look soft. It still helps on a lossless scan, because the re-encode alone takes a large bite out of it.
How to scan properly the first time
Every megabyte you avoid creating is one you never have to compress away. These are the defaults worth setting once on the office scanner.
- 200 to 300 dpi for anything made of text. 300 dpi is the printing standard, 200 dpi is fine for reading, and almost nothing you own needs 600 dpi. A receipt certainly does not.
- Greyscale unless colour carries meaning. A signature in blue ink, a colour-coded chart or a stamp that must be seen as red are reasons for colour. A slightly beige page is not.
- Black and white for clean typed originals only. Smallest mode by a distance, and it destroys pencil, highlighter, thermal receipts and anything photographic.
- Turn off the 'best quality' or 'archival' preset unless you mean it. It usually means lossless colour at high dpi, and it is where the 40 MB files come from.
- Check the first page before running eighty through the feeder.
When compressing is not the right answer
Sometimes a file is large because it holds more than anyone needs. A signed agreement with sixty pages of scanned appendices has a page count problem, not a compression problem, and pulling out the pages that matter with Split PDF takes a 40 MB scan to a 3 MB one without touching a pixel.
Scanned batches also arrive in the wrong shape: fed in backwards, every other page blank because the feeder was set to double-sided, a few sheets sideways. Organize PDF drops the blanks and fixes the rotation, and dropping the blank backs alone halves a double-sided scan. Do that first, then compress what is left.
And if a document is mostly typed with a couple of scanned pages stapled on, those pages are the entire weight. The general compression guide covers the mixed case.
What happens to the file you upload
Compression runs on a server, because redrawing every page image of a large scan is more work than a browser tab should do. The upload is streamed to disk, the images are redrawn, and the input is deleted the moment the job finishes. The result is available for thirty minutes and goes as soon as you have it, as the security page sets out.
Scans are often the most sensitive documents anybody owns: passports, bank statements, medical letters, signed contracts. Nothing is kept, no account is attached, no watermark is added.
Frequently asked questions
Why is my scan so big when the document is only ten pages?
Because page count does not decide the size of a scan. Each page is one photograph, and its weight comes from the resolution and colour mode. Ten pages at 600 dpi in colour is around 40 MB; the same ten at 200 dpi in greyscale is around 2 MB.
What scan dpi should I use for documents?
200 to 300 dpi for text. 300 dpi matches what a printer needs; 200 dpi is fine for reading on a screen. 600 dpi is for photographs, and quadruples the data over 300 dpi.
How do I compress a scanned PDF without making the text unreadable?
Use the Balanced level in Compress PDF, which redraws page images at 150 dpi and reads cleanly on any screen. Then open the result, find the smallest print on the busiest page and confirm it is legible. Drop to Smaller only if an upload limit forces you to.
Will compressing a scanned PDF make the text searchable?
No. A scan has no text in it to begin with - the letters are pixels in an image - and compression only changes how many pixels there are, so a compressed scan stays a picture. We do not add a searchable text layer to a PDF. If you need the words, PDF to Word and PDF to Excel can read a scan with OCR on Pro and give you an editable file instead.
Should I scan in greyscale or black and white?
Greyscale for almost everything: a third the size of colour, and it keeps the soft edges that make letters look like letters. Black and white is smaller still and excellent for clean typed pages, but destroys pencil, highlighter and anything photographic.
Why did my scan barely shrink when I compressed it?
Almost always because it was already low resolution: a scan made at 150 dpi has nothing to lose at the Balanced level, which targets 150 dpi. Check the megabytes per page. Under 100 KB a page, the size is coming from the page count instead.
In short
A scanned PDF is too large because it is a stack of photographs rather than a document of text. Its size comes from the resolution and the colour mode, and dpi spends data in squares, so 600 dpi costs four times what 300 dpi does for the same sheet. Scan text at 200 to 300 dpi in greyscale and the problem never appears. For the file you already have, Balanced redraws the page images at 150 dpi and usually leaves a heavy colour scan at a tenth of its size.
One honest limit: a scan compressed here is still a picture, and its text does not become searchable. To get the words out, PDF to Word and PDF to Excel offer OCR on Pro. Compression itself is free and needs no account - see every tool.