Compressing a PDF is mostly a question about images. Text and vector graphics are already compact; what makes a document heavy is photographs and scans stored at a resolution far higher than anyone will ever look at.
So the useful question is not how hard to compress, but what the file is for. Our three levels are exactly that question, asked in plain language.
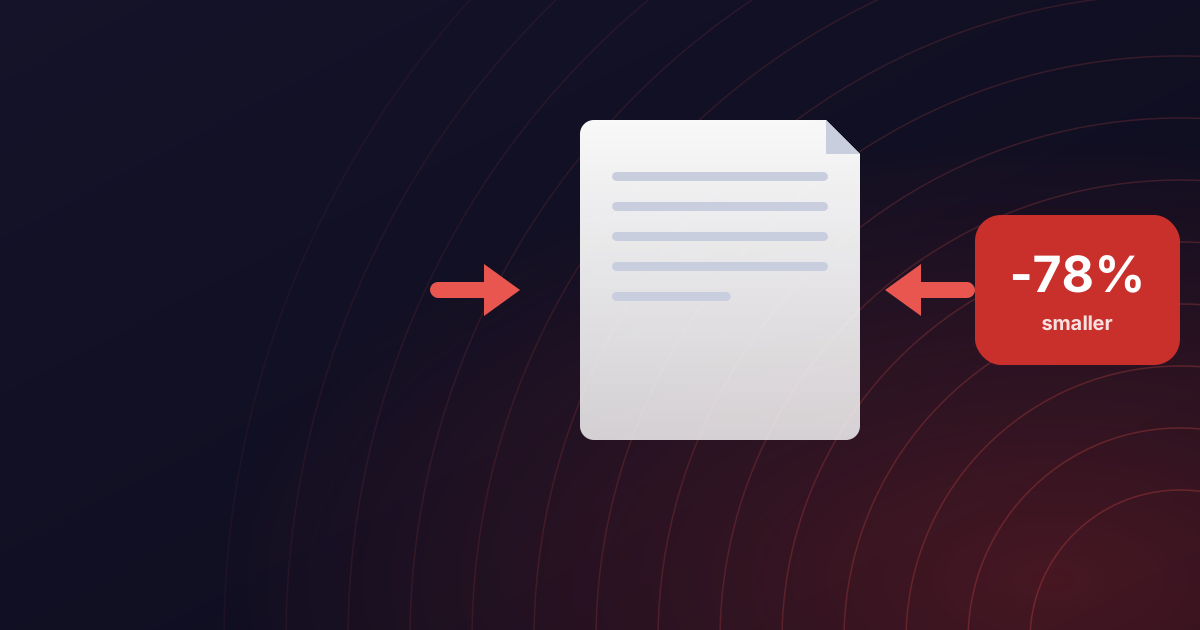
Smaller - for email and the web
Images are reduced to roughly 72 dots per inch, which is about what a screen shows. Choose this when the document is going to be read on a phone or a laptop and then forgotten. It produces by far the smallest file.
Balanced - the default
Around 150 dots per inch. Text stays crisp, photographs stay recognisable, and the file is usually a fraction of the original. If you are not sure, this is the one.
Quality - still meant to be printed
Around 300 dots per inch, which is the usual threshold for print. The saving is smaller because the detail is kept. Use it for anything going to a printer or a client.
When compression cannot help
Some documents are already optimised, and some are almost entirely vector art with nothing to downsample. Pushed hard enough, rewriting such a file can make it slightly larger rather than smaller.
When that happens you get your original back, unchanged. Handing you a bigger file under the word compressed would be worse than doing nothing.
A note on text
None of the levels re-render your text, so words stay selectable and searchable at every setting. If a compressed PDF ever comes back as flat images, something has gone wrong - tell us.